Overview
The “Search for data” mode allows you to find finbar data based on your model. This means that you can build your model however you want, and the add-in will find the most similar data available on finbar. This should greatly cut down time spent updating models on e.g. earnings days!Searching for data
After selecting an organization, click “Search for data”. Select some numerical data in your model to use as the basis for the search. Try to use data that is as close to the originally reported data as possible. Typically, 5-8 prior datapoints are recommended. In the menu, select the date range of the data you have selected. Check “Ignore formulas” to ignore values selected that are not hardcodes. This is useful if you have e.g. growth rates or margins in your model that are not sourced directly from the original documents. Click “Search for data” to perform the search.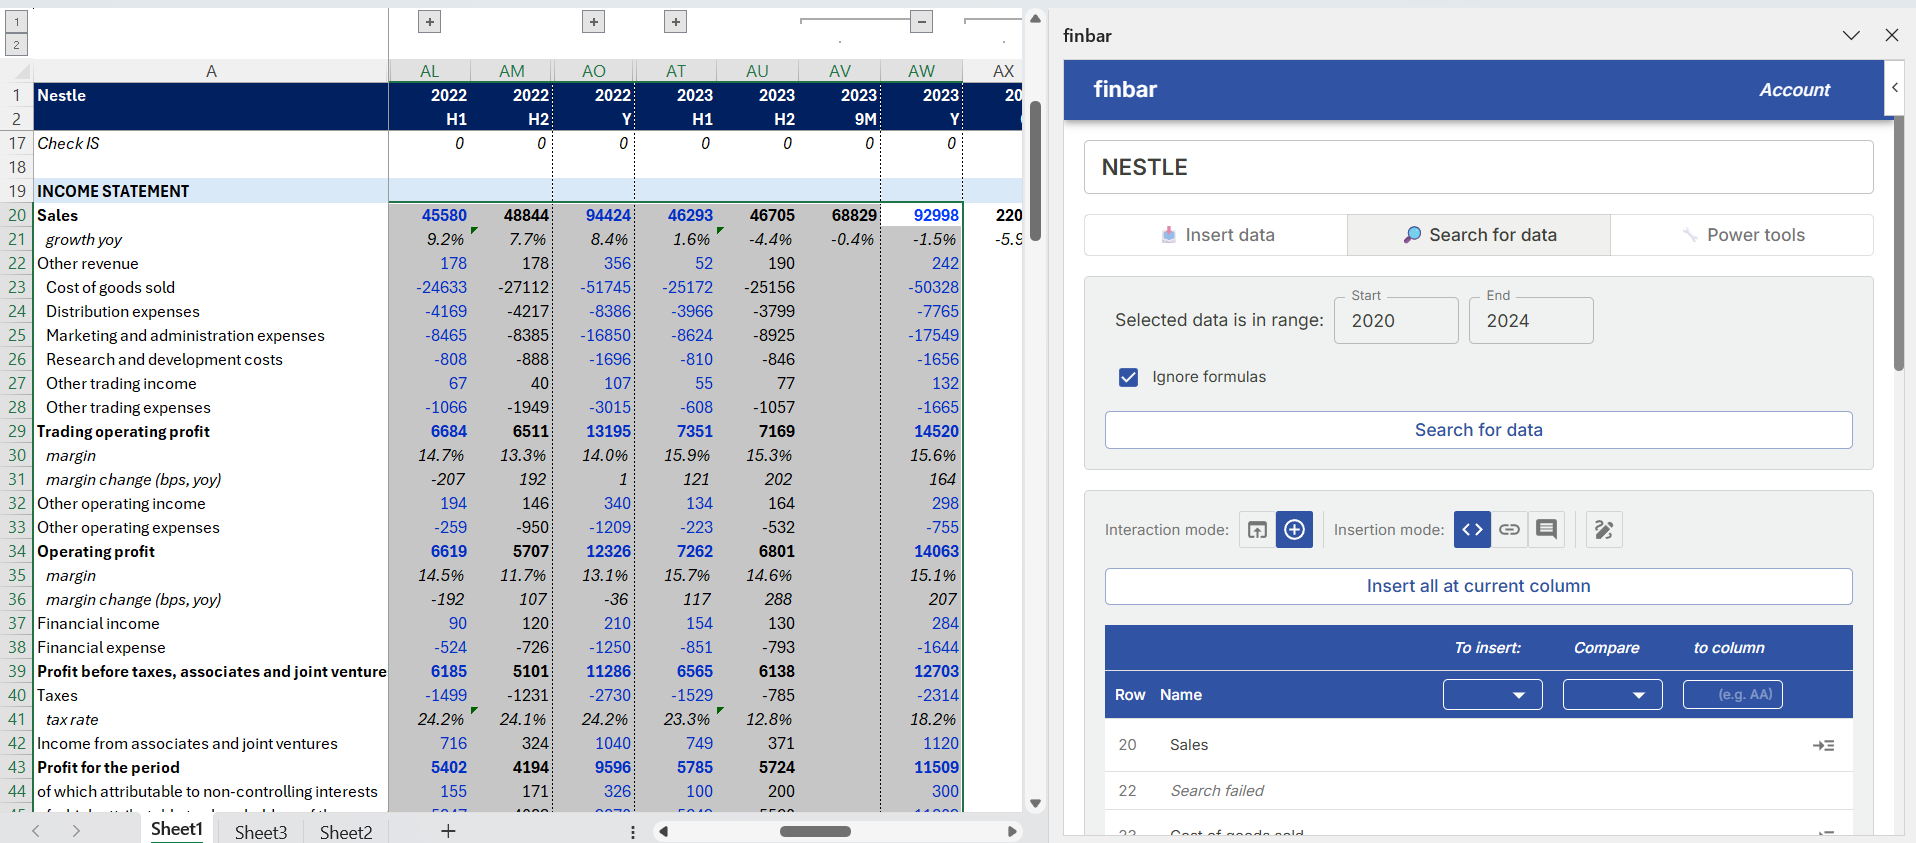
Inserting data
After searching, results will be displayed for each row in your selection (ignoring any blank rows). Use the dropdowns to select data to display. “To insert” is the period of data you want to insert into your model. You can optionally fill in the “To compare” and “to column” dropdowns to show whether the finbar data matches what you have in your model.
Options
You can click on any individual value to interact with it. The “Interaction mode” menu will determine whether this inserts the value into your model, or opens the original source of the datapoint on the web app. Insertion mode options determine whether data is inserted as hardcodes or including a hyperlink / comment to the original source on the web app. Overwrite behavior can also be toggled in the menu.Due to limitations in Excel, any actions performed by the add-in into your Excel file cannot be undone via Excel’s undo functionality. It is recommended you make frequent saves of your file to prevent data loss.